I had a lot of fun with this one! A neighbor who moved left this awesome chair behind. It needed some work, but hey, it was FREE!
This is what it looked like BEFORE:
Apparently someone’s dog had made a meal out of the legs, so my first step was to fix them.
After sanding all the wood, I used Magic Sculpt to fill in the nibbled bits on the legs. Then more sanding after the Magic Sculpt dried.
Then I sprayed them with a white gloss paint (primer and paint in one, about 3 coats).
After the paint dried thoroughly, it was time to get furry! I used a long-pile Mongolian-style faux fur from Distinctive Fabric, combining white and black. Usually I would use a staple gun, but faux fur loves hot glue, it holds the fur like nothing else. Do be sure about your placement, as you will not be able to separate the fur once it dries. And of course, be very careful. Hot glue burns are no fun. Have a bowl of ice water on hand just in case, it really helps if you do burn yourself. I used an old screwdriver to push the fur into the cracks to avoid burns.
I did the seat first, measuring and cutting the fur in place on the chair. You’ll want to pull the fur away from the backing when you are cutting as much as possible to avoid cutting into too much of the long pile. Fair warning, faux fur is really messy! It will cover everything, including you, so dress appropriately.
The gluing was actually pretty easy, it just took some time. I worked in about 6-inch sections, laying the glue, pulling the fur into place and pushing down to stick it into the fur well. The great thing about faux fur is, the longer stuff covers a multitude of sins, so even a bit of a messy job will look great. And be sure and have a lot of glue sticks on hand, I used about ten long ones.
For the upper part of the chair, I pinned the fur into place and then glued it.
And it’s done! What a mess. My pug Max doesn’t seem to mind.
Here it is in the living room. Next up, the furry ottomans…
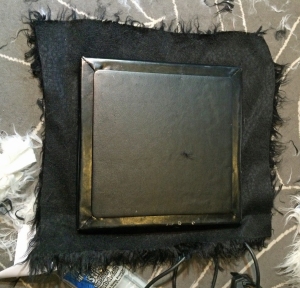
This was an easy one. I was tired of the boring black storage ottomans, so I used a staple gun to give them matching faux fur tops. This time I didn’t use the hot glue so I have the option of easily removing the fur in the future if I want.
Here they are BEFORE:
I just removed the tops and stapled fur under the lids. Easy-peasy.
And here they are! The pugs love them.


Thhanks for posting this